Create Photo Overlays
|

|

|

|
|
Create Photo Overlays
|
|
|

|
Create Photo Overlays
|
|
|
|
|
Create Photo Overlays
|
|
|
|
|
Users have access to import Overlays to photos the actual Overlay needs to be created. Refer to Create Photo Overlays article for more information. Also refer to Upload Photo Overlays if users need to import existing Overlay images. |
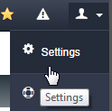
1. Click on Settings located in the upper right hand corner of window.
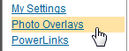
2. Click on Photo Overlays menu within the Setting menu.
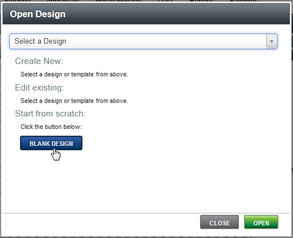
3. Click on BLANK DESIGN or select existing design to edit.
|
If "Blank Design" or "Toolbox" windows do not show check your "Popup Settings" or use a different browser, for example if you are using Explorer try using FireFox. |
4. Drag items from the "ToolBox" menu to create the custom Overlay. Refer to Photo Overlay Toolbox for more information on using the Toolbox.
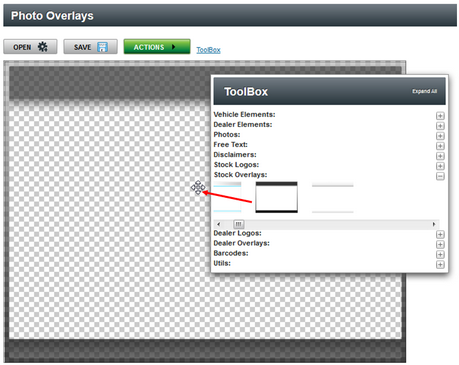
5. After the Overlay is complete and even as the overlay is being created user want to click on the SAVE button in the window. This saves all the edits and changes.

6. Then click on the SAVE button located at the bottom of the window when you are ready to finalize the Overlay.

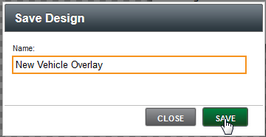
7. Enter name of overlay and click on Save button.
8. Message will open on top of window and user can navigate to vehicle to add Photo Overlay. Refer to Add Photo Overlays for more information.

