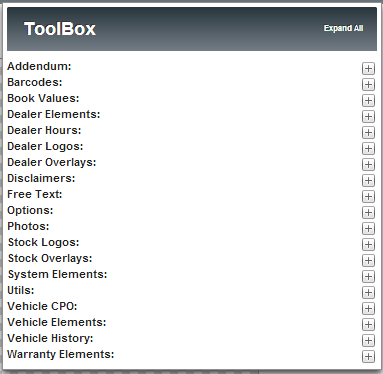
The Photo Overlay ToolBox opens when creating new or editing existing Photo Overlays. The ToolBox allow users to customize the Photo Overlay. Refer to the Photo Overlay article for more information on creating and understanding Photo Overlays.
Accessing ToolBox Items
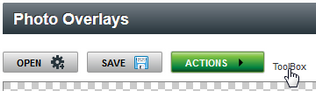
If the ToolBox window is not displaying, click on the Toolbox link to display the Toolbox on the screen. Click the ToolBox link again to close the ToolBox window.
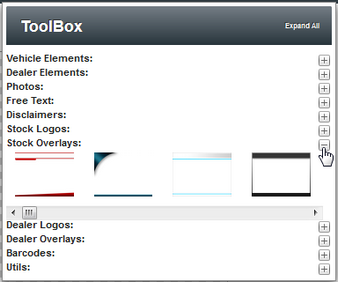
When creating or editing a Photo Overlay users have access to click the Plus/Minus button within the TooBox to open and close the different options. By "clicking" and dragging the item to the Photo Overlay window places the item within the Overlay.
Each option within the ToolBox have a specific use:
| • | Vehicle Elements - Displays comments, segment, and segment size for vehicle. |
| • | Dealer Elements - Displays Dealership's contact and location information. |
| • | Photos - Displays specific images used by dealership. |
| • | Free Text - Displays custom text and formatting. |
| • | Disclaimers - Creates Disclaimer section within Photo Overlay. |
| • | Stock Logos - Displays variety or logos from Carfax, to city\hwy MPG, and other useful industry standard images. |
| • | Stock Overlays - Displays default Photo Overlay designs. |
| • | Dealer Overlays - Displays images the dealer has uploaded within Dealer Media settings. Refer to Upload Dealer Logo article for more information |
| • | Barcodes - Creates QR Codes. Refer to QR Codes article for more information. |


