Resizing Items on Stickers
|

|

|

|
|
Resizing Items on Stickers
|
|
|

|
Resizing Items on Stickers
|
|
|
|
|
Resizing Items on Stickers
|
|
|
|
When creating or editing sticker users have access to view the Toggle Outlines. Toggle Outlines display the fields position and size within the sticker, showing the user if there are issues with the field placement.
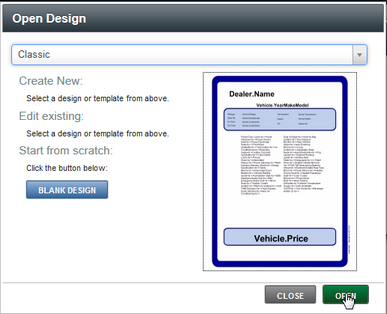
View Toggle Outlines and resizing fields:
1. Click on Settings.

2. Click on Sticker option.

3. Select an existing Sticker or create a new Sticker and click on OPEN button. Refer to Add Vehicle Stickers for more information if needed.
4. Check "Toggle Outline" option within the ToolBox window Utils option.

5. Around each fields dots will display, showing the size of each field.

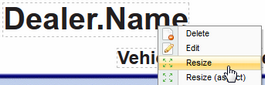
6. With the mouse "Right Click" ![]() on the field and click on Resize option.
on the field and click on Resize option.
|
When resizing something users need to stay square. Example, for a QR Code use the "resize aspect" option. If the QR Code is not square the scan will not work. |
7. Click on the "lower right corner" of the field and drag to needed size.
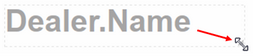
8. Click on SAVE button after all changes are complete.

9. Name Sticker within "Save Design" window and click on SAVE button.

10. Message will appear saying "Successfully saved Sticker Design".
![]()
